Pages

Thursday, 6 November 2014

Time to Suit UP!!!


Sup Superheroes!!!,


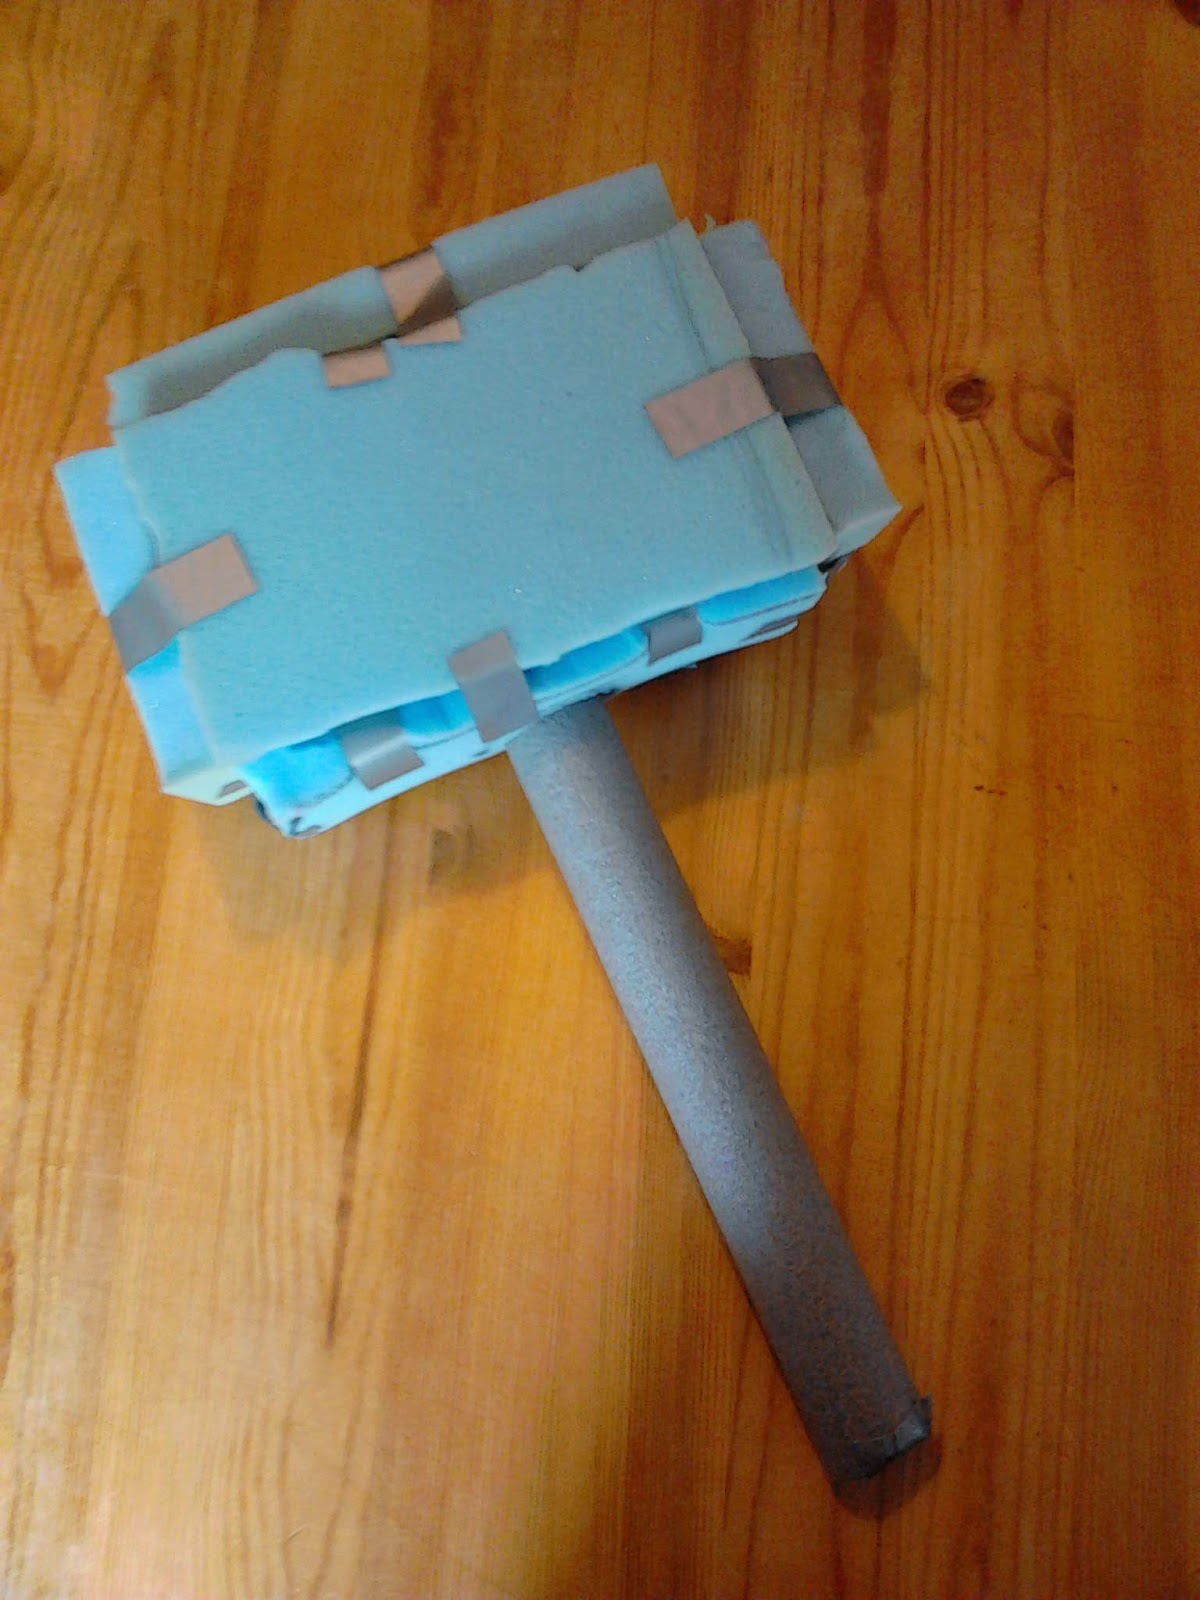
Here are two great new projects I've just made in my workshop. The first is a full size foam Hammer of the 'Mighty Avenger' Thor. I really enjoyed working on this and two of my younger brothers watched as I made it in great anticipation. The second project is another shield I made based on the shield Cap has in Marvel's brand new movie 'The Winter Soldier'! I hope you like photos below and if the world ever needs saving you know who to call.

Always 'Suited Up'
The Mighty Hammer and Super Shield

ZAC


So here I marked the peices of
foam I needed to cut out


I also cut a peice of foam PVC pipe for the handle


Then started taping the foam around the head of the hammer


And then added more tape


and more...


and more...


and more...


until...


There it is!!!


Thor's Mighty Hammer


'The Winter Soldier'


First I drew the outline of the star and rings


Then penned them in

Then spray painted the whole shield silver

 After spraying it I started painting the blue around the star


Once I had finished painting the blue I then started the red

and more...

and more...


Until...

I finished Captain America's Super Shield


P.S If you haven't seen either of the two movies or clips below I'll warn you now that they both contain moderate smashing. Enjoy!


Saturday, 26 July 2014

Wooden Sword Box

Hello There Carpenters and Re-enactors!

As some of you may already know my older brother (Joe) owns a online sword business (click here to see). 
Myself and a few of my other brothers also help him with the business. We also sell products at re-enactments and many other historical events. However transporting lots of weapons in cardboard boxes has been quite a challenge. Until we thought of making some wooden boxes instead. Of course me being the carpenter in the family meant I had to make it. My Dad however has done quite a bit of woodwork over the years,  so with his help we both made it work. The pictures below show step by step how we put it together. Enjoy and leave a comment below to tell us what you think.


It begins


Drilling some screws into the bottom


Putting the side on


More drilling...


And more...


And more


Until...


TA DA! 
You have a box 


And a lid
We based the size on the boxes we had before


So all the swords could fit in together


Then I started staining it


Me and my dad also added a border around
the sides to cover up all the screws


Me drilling (again!) holes for the handles


I was a little squished while doing it though


Cutting some rope for the handles


And there you have it!

A brand new wooden box for all our future events

Saturday, 14 June 2014

Other projects


Hello again Jedi knights and all other warriors,

Here are a few of the other projects I've made recently. I really enjoyed making them and am still really pleased with them all. I hope you enjoy the pictures and try it yourself. They are relatively cheap to make. All you need for the foam light sabers is some insulating foam for pipes from any hardware store, electricians tape and wooden or plastic dowelling to go inside.


Choose your weapon


These swords I actully made for my little brother. He has just started sword fighting me
and my other brothers so I thought if I made some foam ones there would be less injuries  


This sword a friend of mine bought at the
Bannock burn center in Scotland


The sword itself was pretty cool but I thought it
would look even better if I personalized it for him


I even burnt my rune on the pommel
Here is a shield I actually made quite a while ago
but for long time I didn't know what to paint on it
I wanted a design similar to Captain America's 
but also something that would involve my rune


So after a lot of thinking and the creativeness
of my sister I finally came up with something


So there we have it! The shield of Zaxon Carpentry